
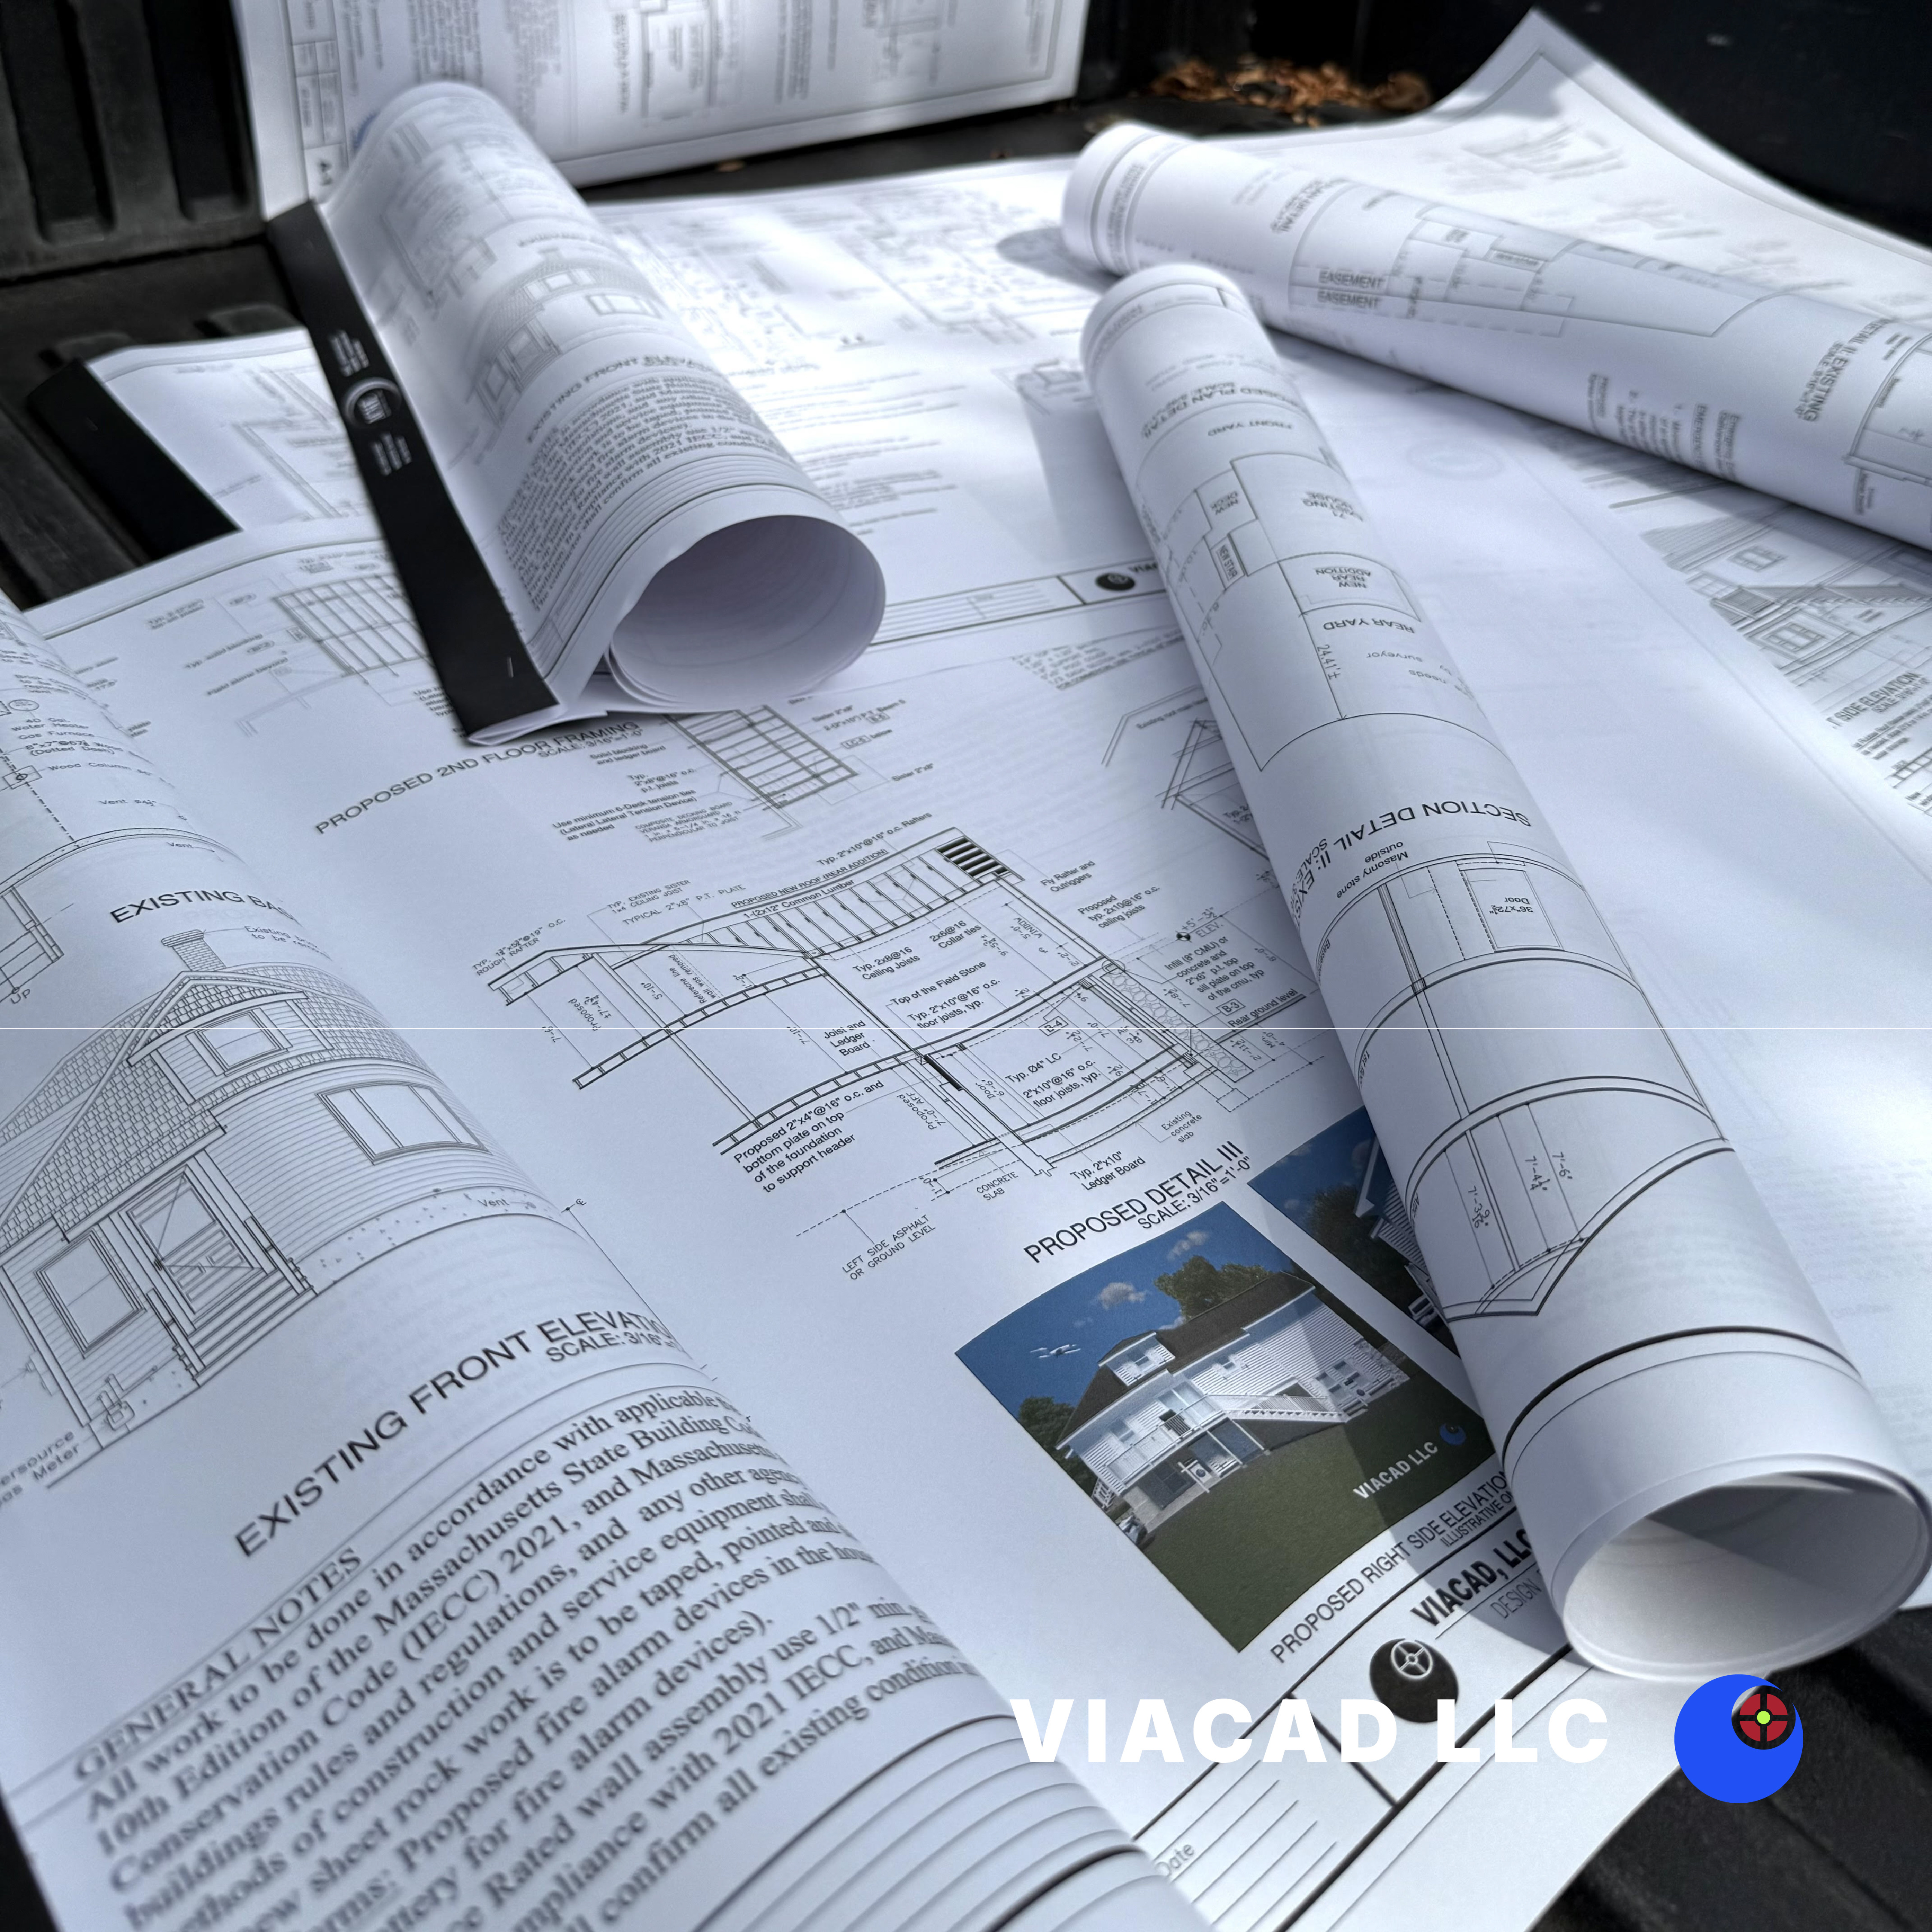
NOTE: VIACAD, LLC specializes in developing and producing detailed building plans (construction blueprints) for both residential and commercial projects across Massachusetts with more than 18 years of experience in design & construction producing professional permit-ready drawings for homeowners, builders, developers, and businesses.
Building a porch rail in Massachusetts is a rewarding project that enhances both the safety and aesthetic appeal of your front porch. Whether you own an old house or a newer home, understanding the local building code requirements and selecting the right materials and design will ensure your porch railing is both compliant and stylish. This guide will walk you through the essential steps and tips for how to build a porch rail in Massachusetts, providing a deep exploration of the regulations and considerations you need to know, from planning to installation.
NOTE: Information provided here is for educational purposes only.
Before you start your project, it’s crucial to familiarize yourself with Massachusetts’ building code regulations for porch railings. You should measure the height and spacing of your porch railings to ensure compliance with these requirements. The building code requires that porch railings provide sufficient safety and security, especially for decks and porches that stand more than 30 inches above the ground. The code specifies the height, spacing, and strength requirements for railings to protect occupants from falls.
Typically, the railing system must have a minimum height of 36 inches for porch railings on residential properties. The spacing between balusters, the vertical components of the railing, must be narrow enough to prevent a 4-inch sphere from passing through, ensuring child safety. Sometimes, it’s helpful to measure half the distance between posts or balusters to ensure even spacing.
Understanding these regulations will help you plan and install a porch rail that meets all safety standards and passes inspection by your local city or town building department.
When planning how to build a porch rail in Massachusetts, start by measuring the length of your porch where the railing will be installed. Accurate measurements are essential to determine the number of posts, rails, and balusters you’ll need.
Next, decide on the style of porch railing that best suits your house. There are many styles to choose from, such as traditional, modern, or decorative styles, each influencing the overall character and curb appeal of your home. Traditional wood railings are popular for their classic look and ease of customization, but you can also consider composite materials or metal for added durability and low maintenance. Your choice should match the aesthetic style of your home and the surrounding environment. Gather ideas for your porch rail project from home improvement magazines or online galleries to help visualize different options and find inspiration.
Make a detailed plan or sketch of your railing system, including the placement of porch posts, top and bottom rails, and balusters. The balustrade is a key element that impacts both the safety and curb appeal of your porch, so consider its design carefully. The top rail is the horizontal board that sits on top of the balusters and posts, providing a handrail for support. The bottom rail, or lower rail, connects the posts at the base and holds the balusters in place. Ensure that your plan complies with the Massachusetts building code requirements for height and spacing.
Wood is the most common material for porch rails due to its versatility and natural appearance. Choose rot-resistant wood species such as cedar, redwood, or pressure-treated lumber to withstand Massachusetts’ outdoor weather conditions. These materials help prevent rot and extend the life of your porch railing.
In addition to wood, you’ll need screws, nails, and possibly metal brackets to securely attach the components. A drill, saw, table saw (for making precise cuts on balusters and rails), measuring tape, level, and square are essential tools for cutting and assembling your railing system accurately.
Shopping for quality materials and tools ensures that your porch railing will be sturdy and durable, providing both safety and style.
Start by installing sturdy porch posts at regular intervals along the edge of your porch. Posts serve as the main support for the railing system and must be firmly anchored to the porch structure or deck. Use a level to ensure each post stands perfectly vertical.
Next, attach the bottom rail or lower rail to the posts. This rail should be positioned a few inches above the porch floor to keep the balusters off the ground, preventing rot and damage from moisture. Secure the bottom rail using screws or nails, making sure it is level along the entire length.
Balusters are the vertical components that fill the space between the top and bottom rails. Space them evenly according to code requirements, typically no more than 4 inches apart to prevent small children from slipping through. Attach each baluster securely to the bottom and top rails.
The top rail, often serving as a handrail, is attached to the top of the posts and balusters. This rail provides a comfortable grip and completes the railing system. Ensure the top rail is smooth and free of splinters, and secure it firmly to the posts with screws or brackets.
Fill any nail or screw holes with wood filler, sand the surfaces for a smooth finish, and apply a protective stain or paint suitable for outdoor use. This not only enhances the appearance but also protects the wood from rot and weather damage.
We hope these tips help you achieve a successful porch rail installation and inspire confidence as you move forward with your project.

Currently accepting projects in Massachusetts.
